
Panoramas
by Nick Smith
Nick Smith has a unique photographic style that is complimented by his post processing. As you can see from the photo above he gets some really stunning effects.
Panoramas can be fairly simple, using 3 or so shots (that would be me); or complex works of art like the ones Nick Smith has done. So here is a bit about how he does it.
First a few general tips:
- Overlap your shots by 20 to 50%… 30% is a good number.
- Don’t use filters on your lens.
- Best focal lengths 28 to 50 on a full frame camera
- Shoot manual focus.
- Vertical shots capture more of the sky.
- Auto ISO to “off”. Set ISO at 100 – 200.
- F stop about F10 so everything is in focus.
- White balance to auto and shoot Camera Raw.
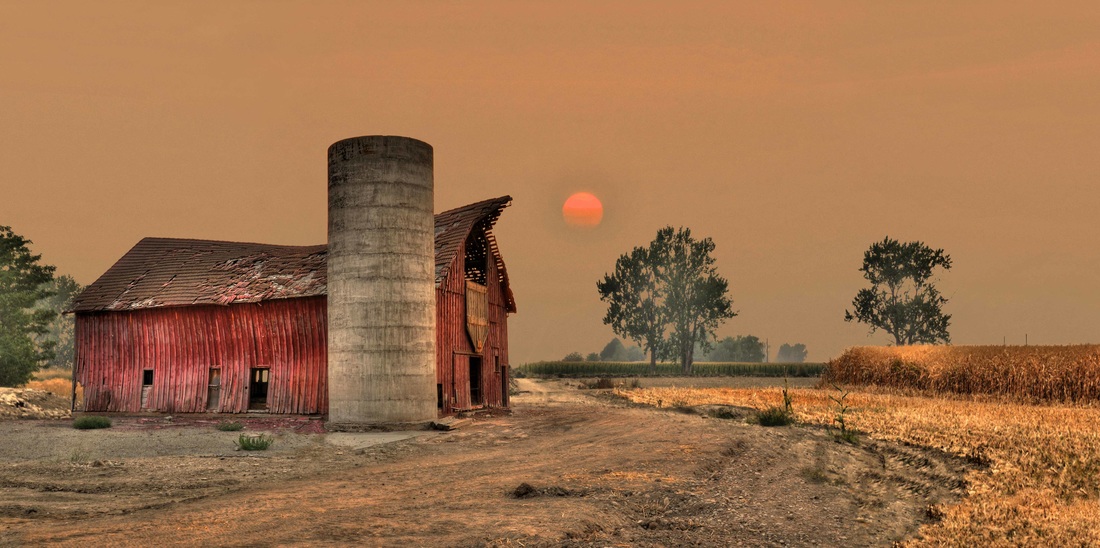
Barn with setting sun:
9/2012 Nampa, ID – Black Cat Rd (no longer standing)
HDR Panorama, 1/13 sec, f13, using aperture setting in all images
This is some 65 images, 5 bracketed images, 3 across bottom, 3 across top of pano +1 extra
Then he did not like the setting the barn was in so he went across the street and shot a corn field the same way – 3, 5 bracketed across bottom, and 3 across top.
Processing in Photoshop with an On1 mask after all stitching is completed. Barn was cut out using On1 mask. Then editing to both layers allows everything to blend and fit.
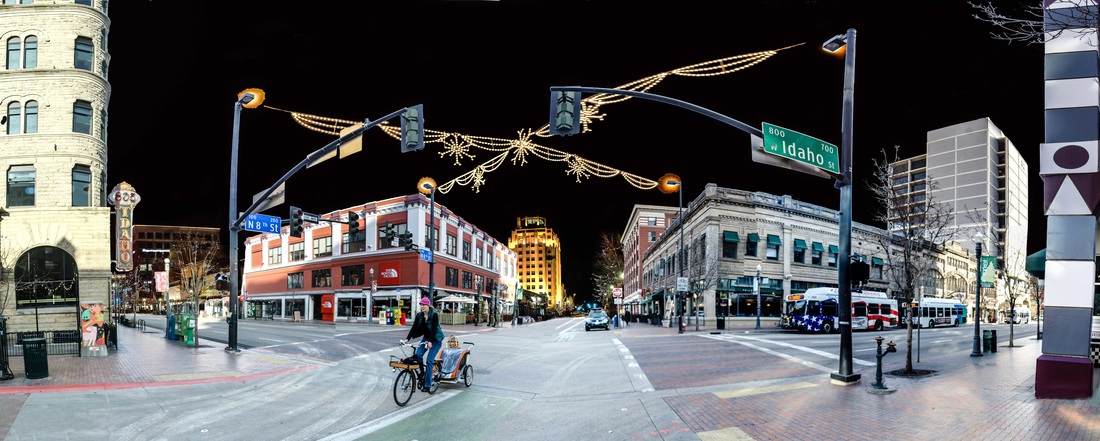
City Stitch:
12/2012 Boise
18mm 1/30sec f.5
Panorama Stitch – shot 10 frames, 5 across bottom 5 across top of panorama area (day shot), then returning at night, same spot, same setup with lens mm and repeated 2nd stitch panorama. Process the files in a stitching software (ICE free from Microsoft). Now you have a day pano and a night pano. With Photoshop, turn it into layers with cutting out, adjusting, and fitting it together and you have a great panorama shot.